Introduction
Tech Specs
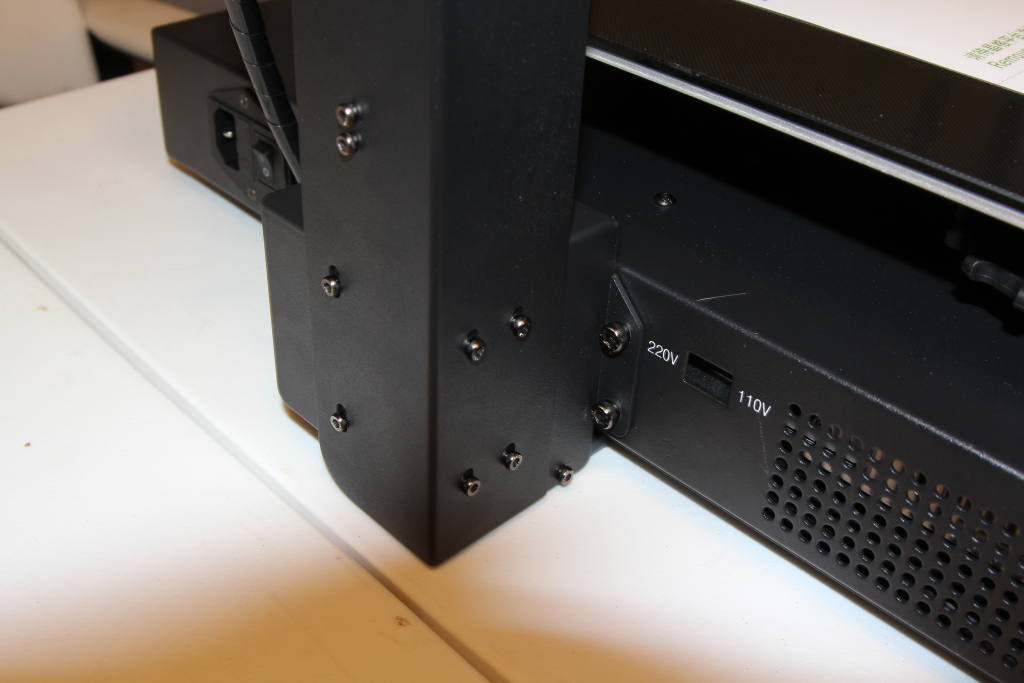
Voltage: 110V, 220V
**Ensure to switch to the proper voltage for your countryPrinting Technology: FDM – Fused Deposition Modeling
Layer Resolution: 0.05 – 0.3mm
Positional Accuracy: X/Y 0.0125mm, Z 0.002mm
Supported Printing Materials: PLA, ABS, TPU, HIPS, WOOD, PETG
Printing Speed: 20-100mm/s, Anycubic suggests 60mm/s (we printed most things at 40mm/s)
Stock Nozzle Diameter: 0.4mm
Build Volume: 300 x 300 x 305 mm^3
Extruder Max Temperature: 250C
Print Bed Max Temperature: 90C
Printer Dimensions: 500 x 500 x 553 mm^3
Accepted File Formats: .stl, .obj, .dae, .amf
Ambient Operating Temperature: 8 – 40 C
Connectivity: SD Card, USB via Octoprint
Net Weight: 19kg
Large Build Volume, Great Quality, Lots of Extras!
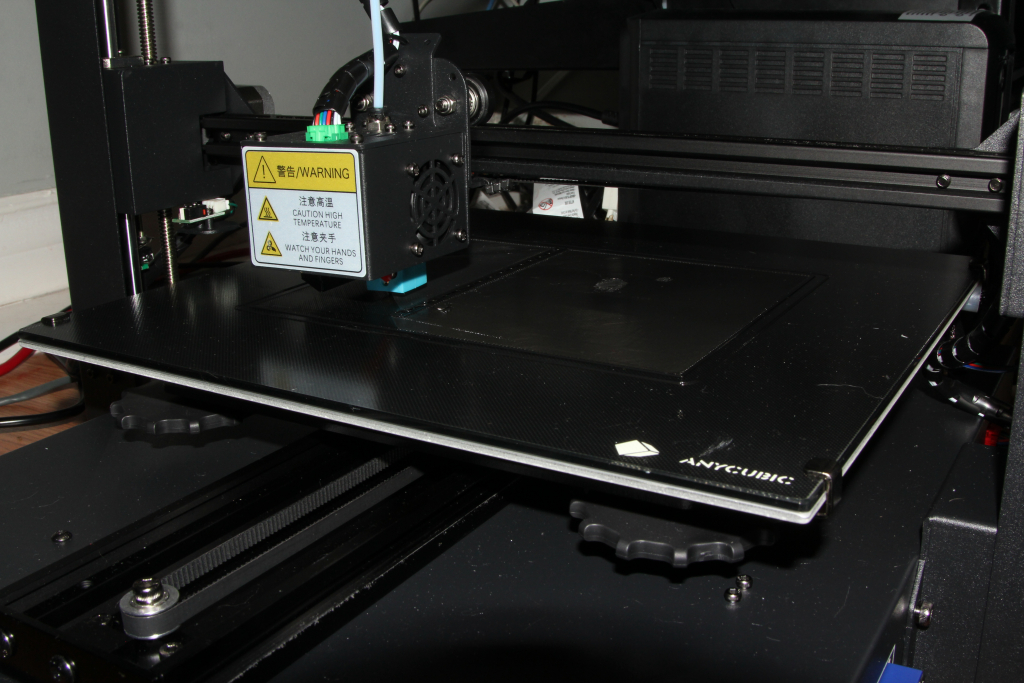
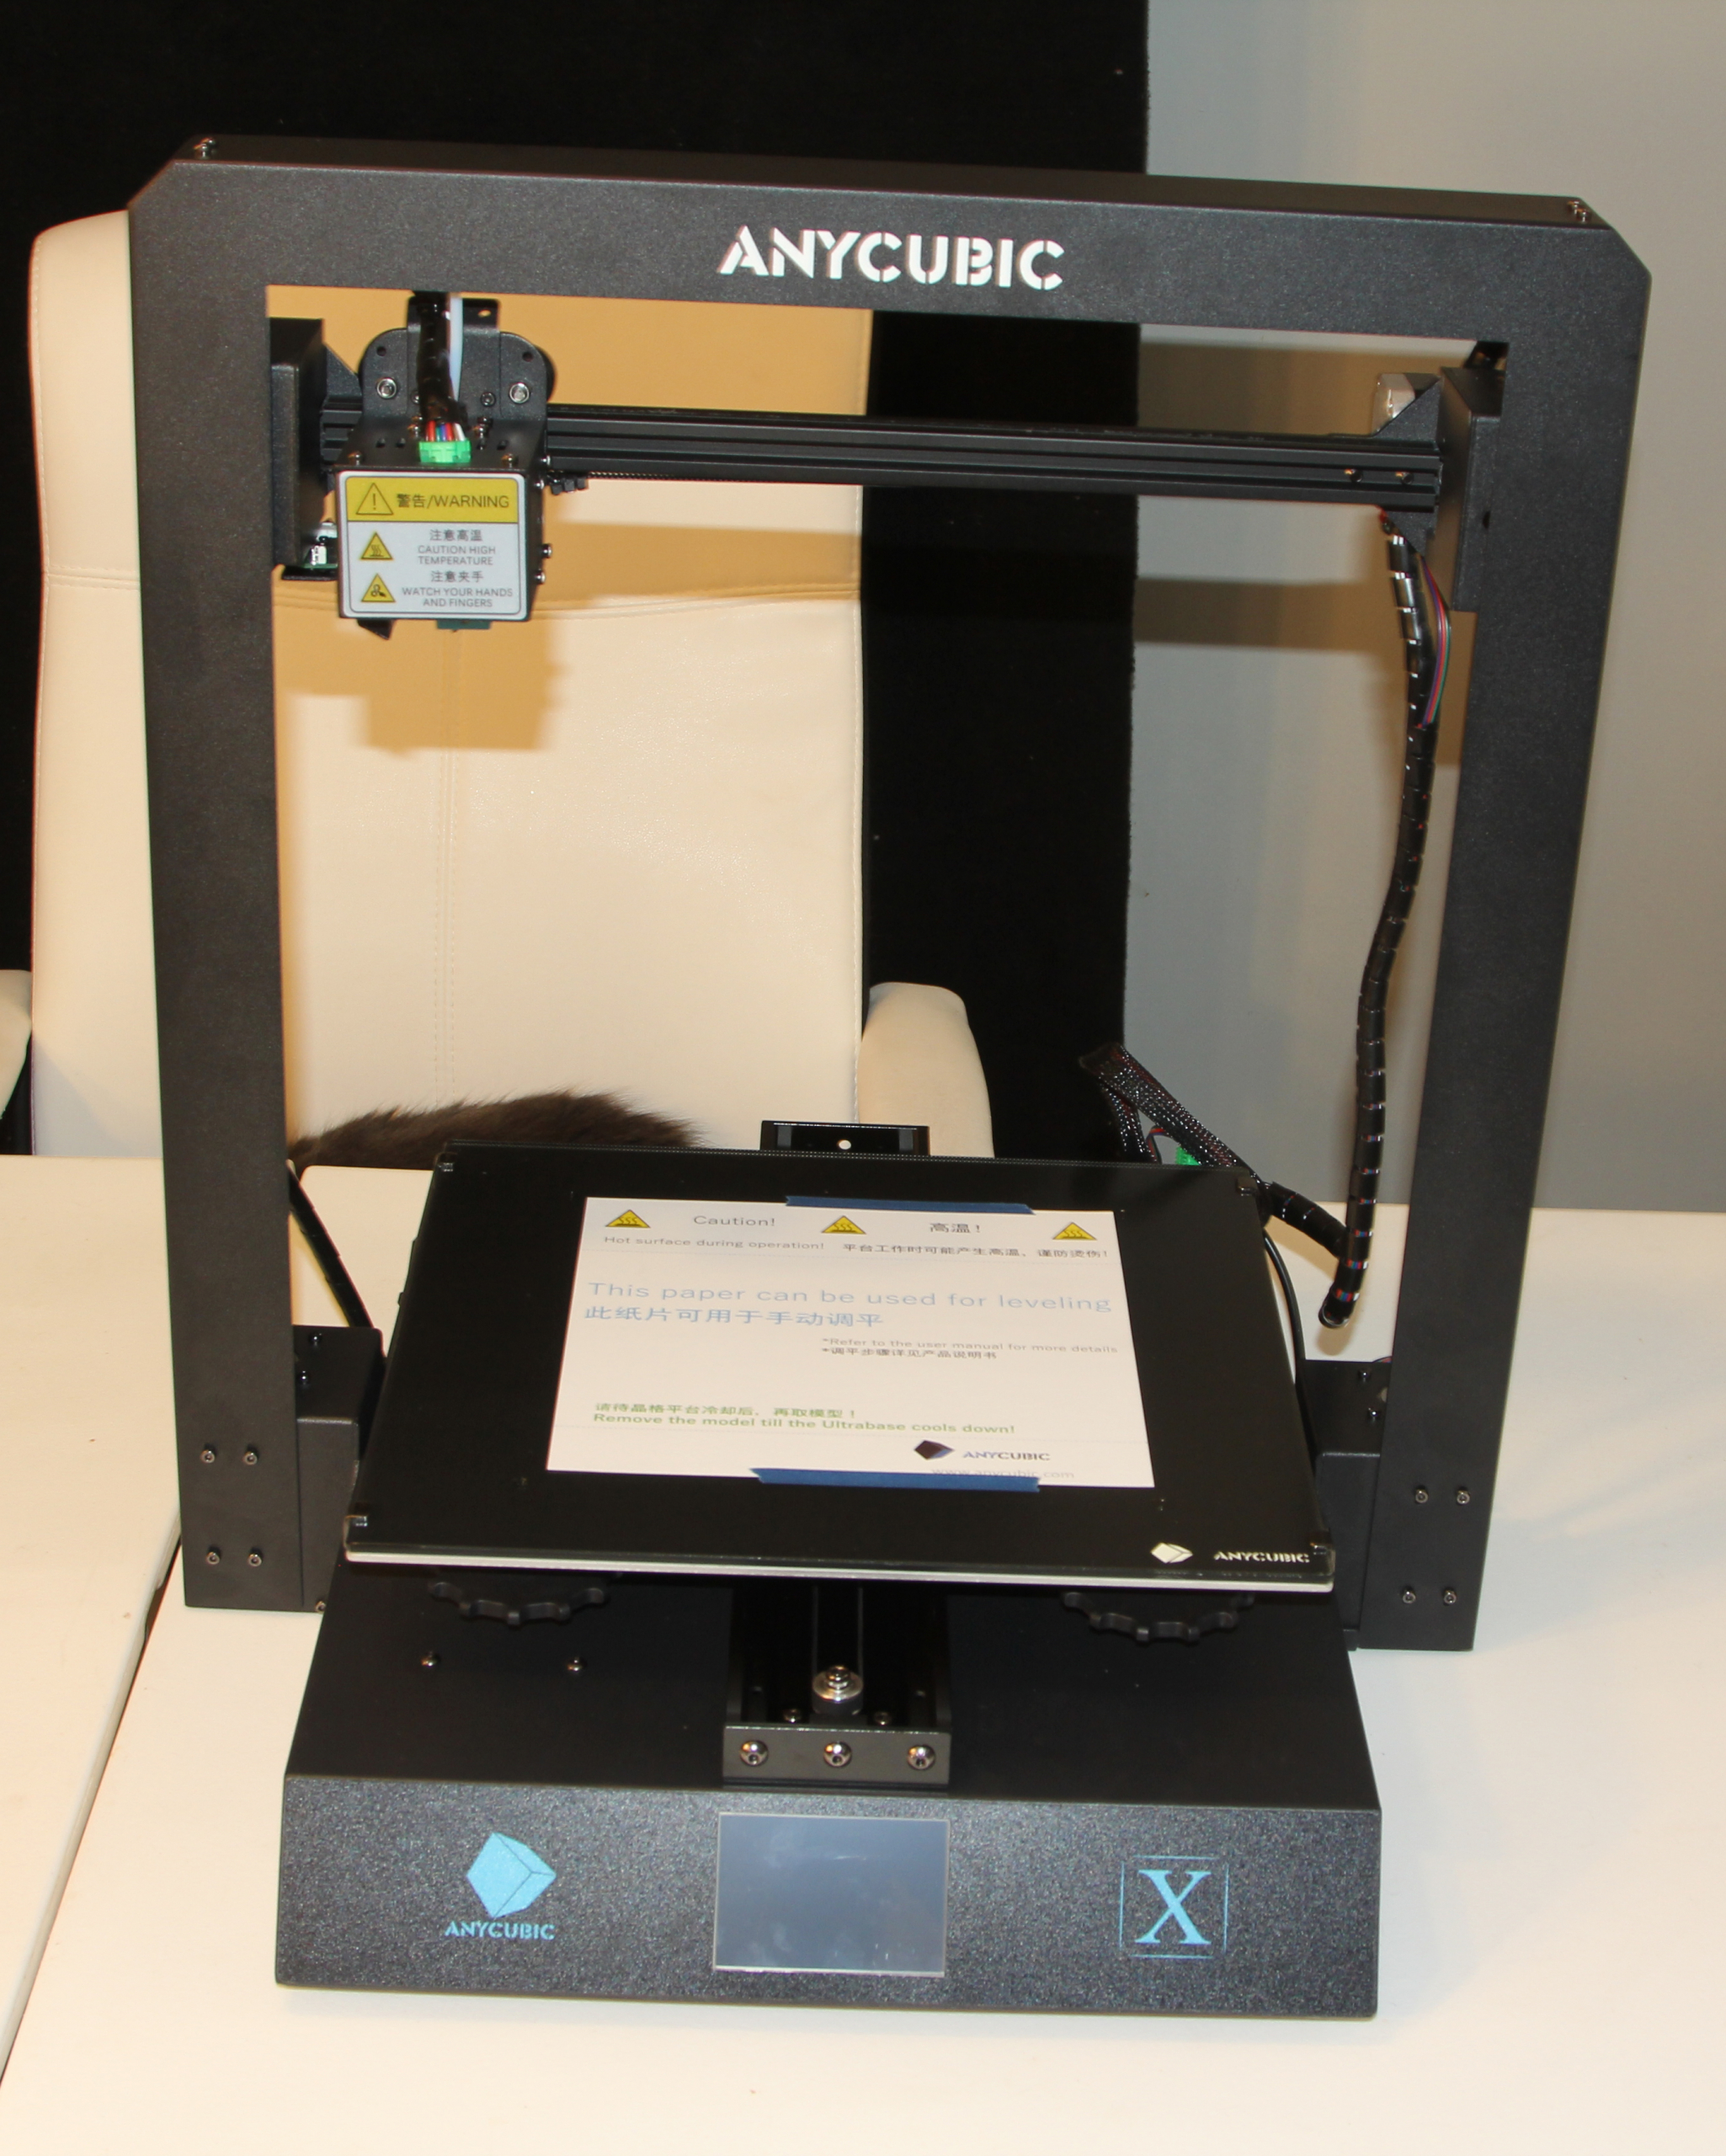
Surprised was our initial reaction when the Mega X arrived at our door. We did not fully appreciate the scale of the 300 x 300 x 305 mm^3 build volume until we compared it to our Creality Ender 3 Pro, Labists ET4 or Digilab 3D45 (30% larger!).
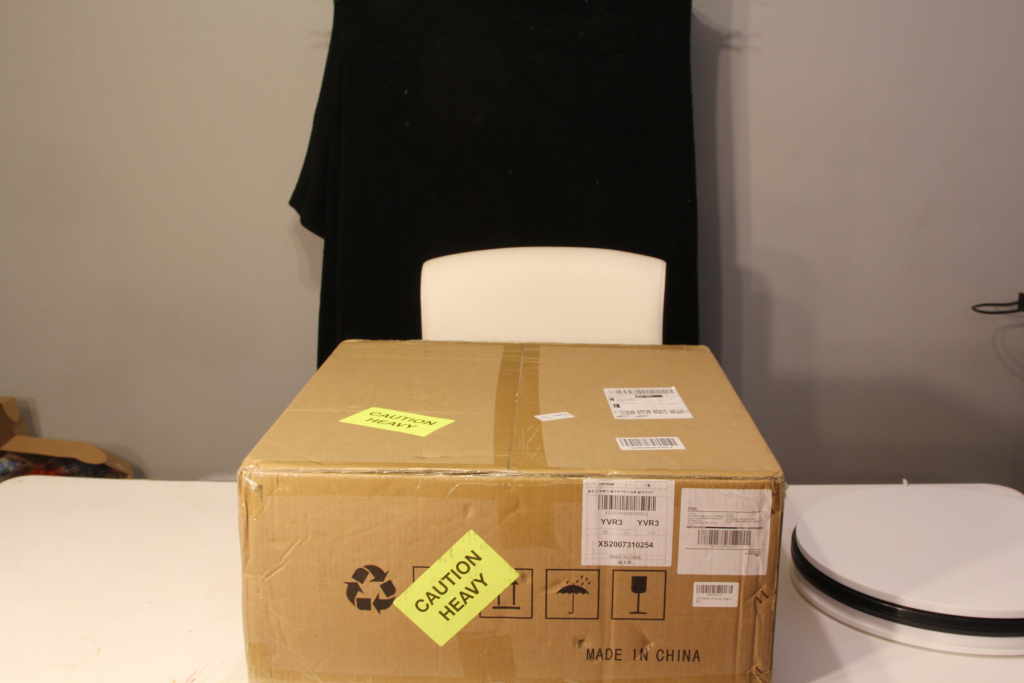
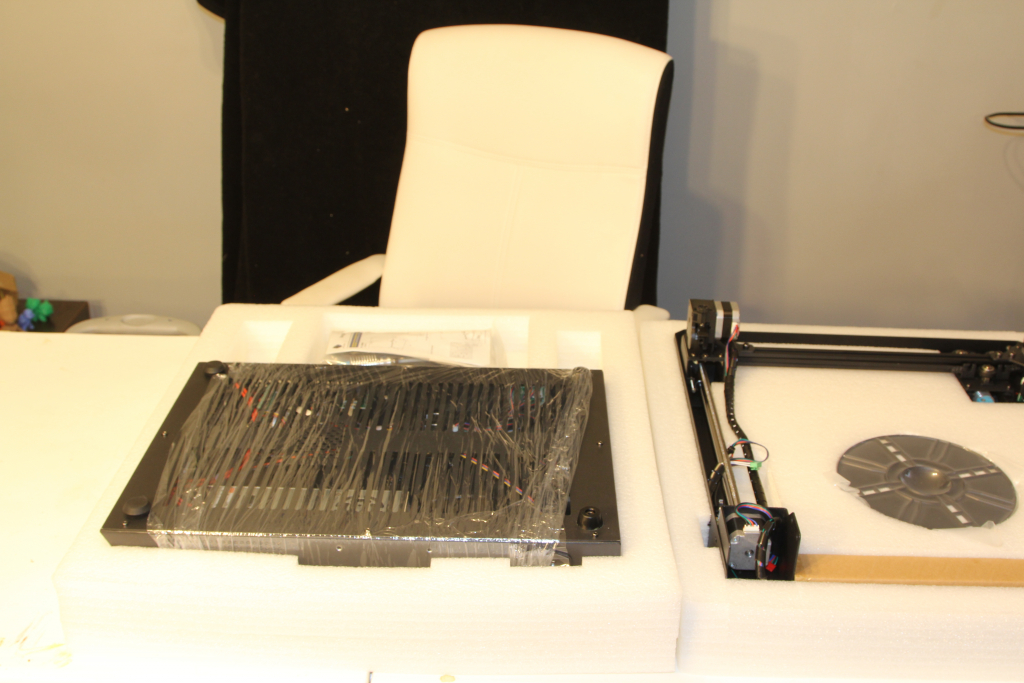
The packaging was superb. There was ample foam around the edges of the box package to minimize the possibility of impact to the machine and its’ components. The bed was secured to the base and nicely wrapped to prevent scratches and abrasions.
Printer components were easy to remove from the box and assemble. The three main components involved in assembly were the: base, z-axis tower, and filament spool holder.
Four screws were installed on either side of the z-axis tower with the provided Allen key to secure it to the base.
Package Contents
Did You Say Additional Hot End?
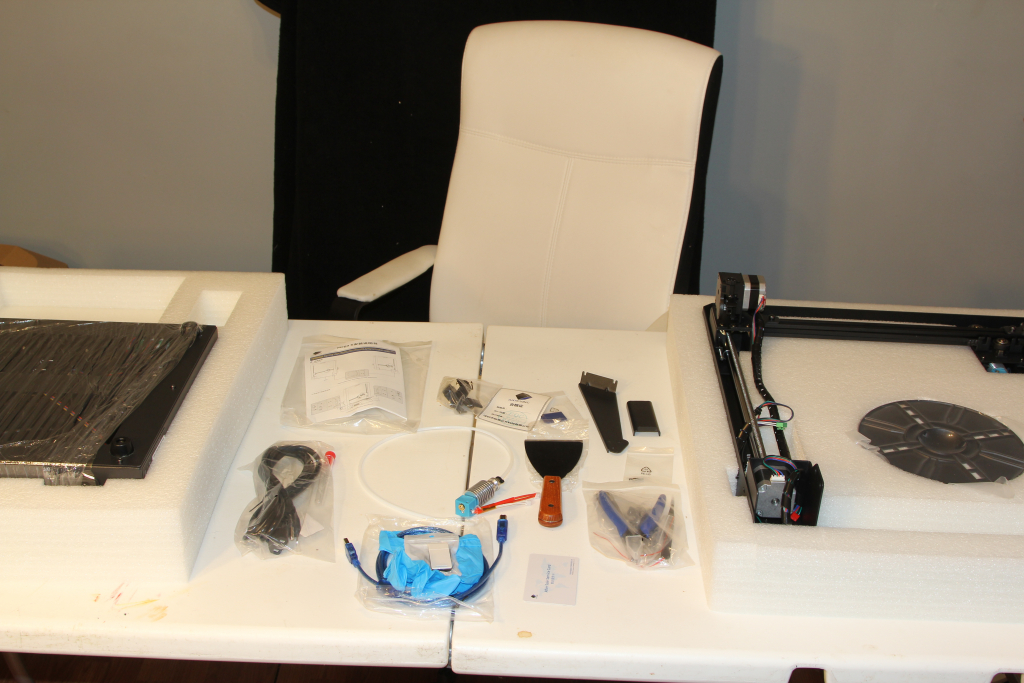
It is worth mentioning that Anycubic provides a large number of additional tools, and components with the printer. Most notably, they provide an additional hot end with the printer.
The entire contents includes:
- Scraper
- Snips
- Extra Hot End
- Power Cable
- USB Cable
- PPE Gloves
- Warranty Card
- Good Instructions
- Wrenches
- Allen Keys
Bed Leveling and Initial Impression
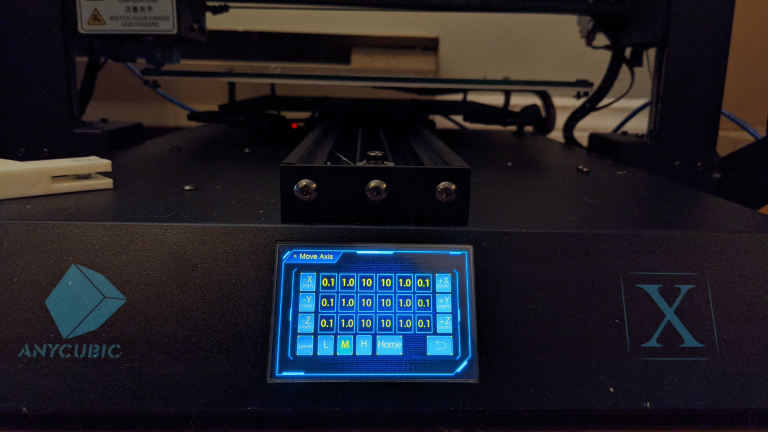
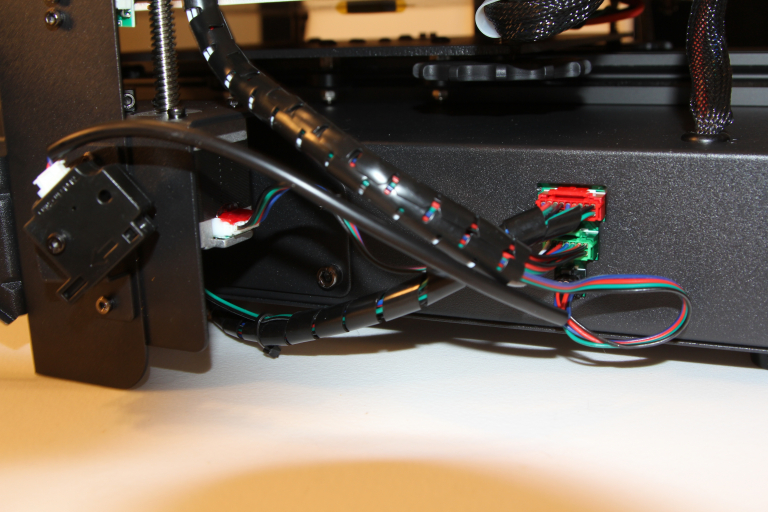
Once powered up, leveling the base is easier than the Creality Ender 3 Pro and Labists ET4 due to the large touch screen with a full array of xyz stepping controls at 0.1, 1, and 10 mm. These stepping motions can be operated at low, medium, and high speeds for moving the extruder around; albeit, this process is still completed manually with a sheet of paper. (they are kind enough to include the piece of paper!) The knobs are large and clearly labelled for easy tensioning.
After attempting to load the filament through the provided filament run out sensor we realized the attachment was pre-installed upside down so after fixing that, the filament loaded up and we moved on to preheating and doing the first print.
The pre-heating stage for the bed temperature is fairly slow, but once it reaches temperature there is minimal fluctuations in temperature
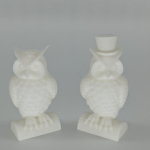
The very first print we did was two owls which was on the included SD card and we used the 1kg of the included white PLA filament. It took a surprisingly long time considering the size of the print. But, it turned out fantastic! (Pictures below)
Two things of special note are how responsive and bright the touchscreen actually is, even in a bright office environment but also how loud the stepper motors actually are, for us this doesn’t matter but definitely something to consider if you are going to be working near it.
Cura 4.7 Slicer Settings and Other Test Prints
Setting up prints with the Mega X is very simple either through the included SD card or via USB.
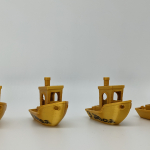
The First Layer of this book nook was impressive although there was a minor imperfection (bubbling in one spot), luckily it was mostly the back/infill, so it didn’t matter. After some fine tuning and printing some calibration cubes at 0.3, 0.2 and 0.1mm layer height and 60mm/s, 50mm/s, 40mm/s respectively we moved on to benchy’s which you can see below!
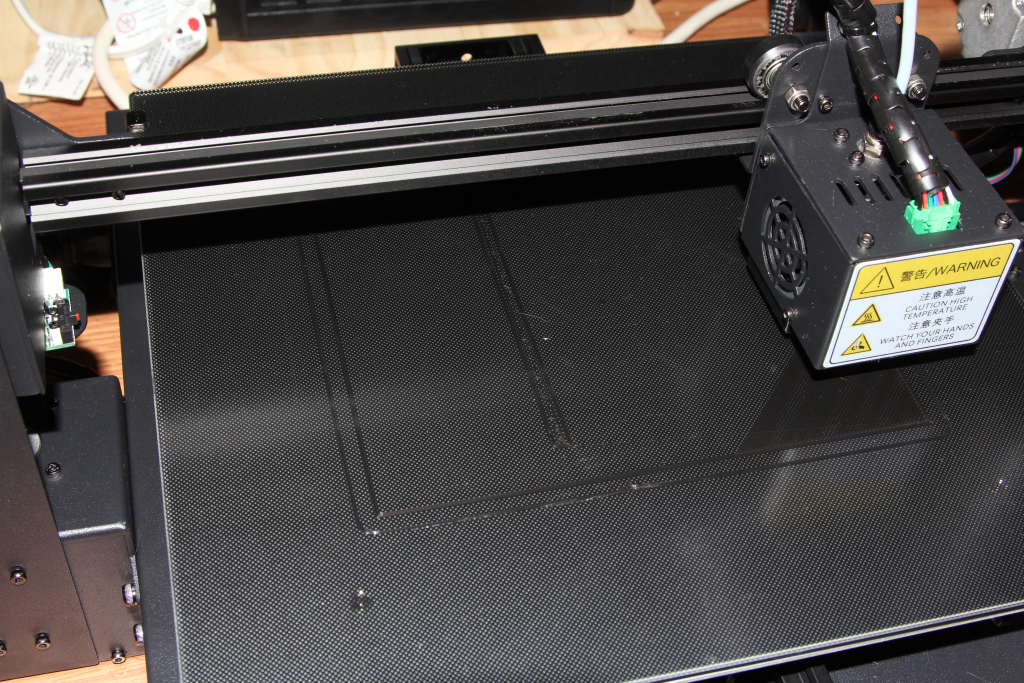
The Ultrabase heated bed works extremely well, even better than we anticipated. The quick and dirty is that it provides better adhesion when hot but also allows you to remove your prints more easily once the bed cools. Check out ALL3DP’s review of just the bed here.
**Cura didn’t have a pre-generated profile at the time of review so we used the i3 mega profile with a modified build volume for most of the test prints you see.
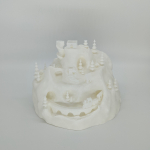
**We then used the included Cura profile on the SD card and printed Gandalf and the Lord Stanley Cup which turned out great but again were quite slow.
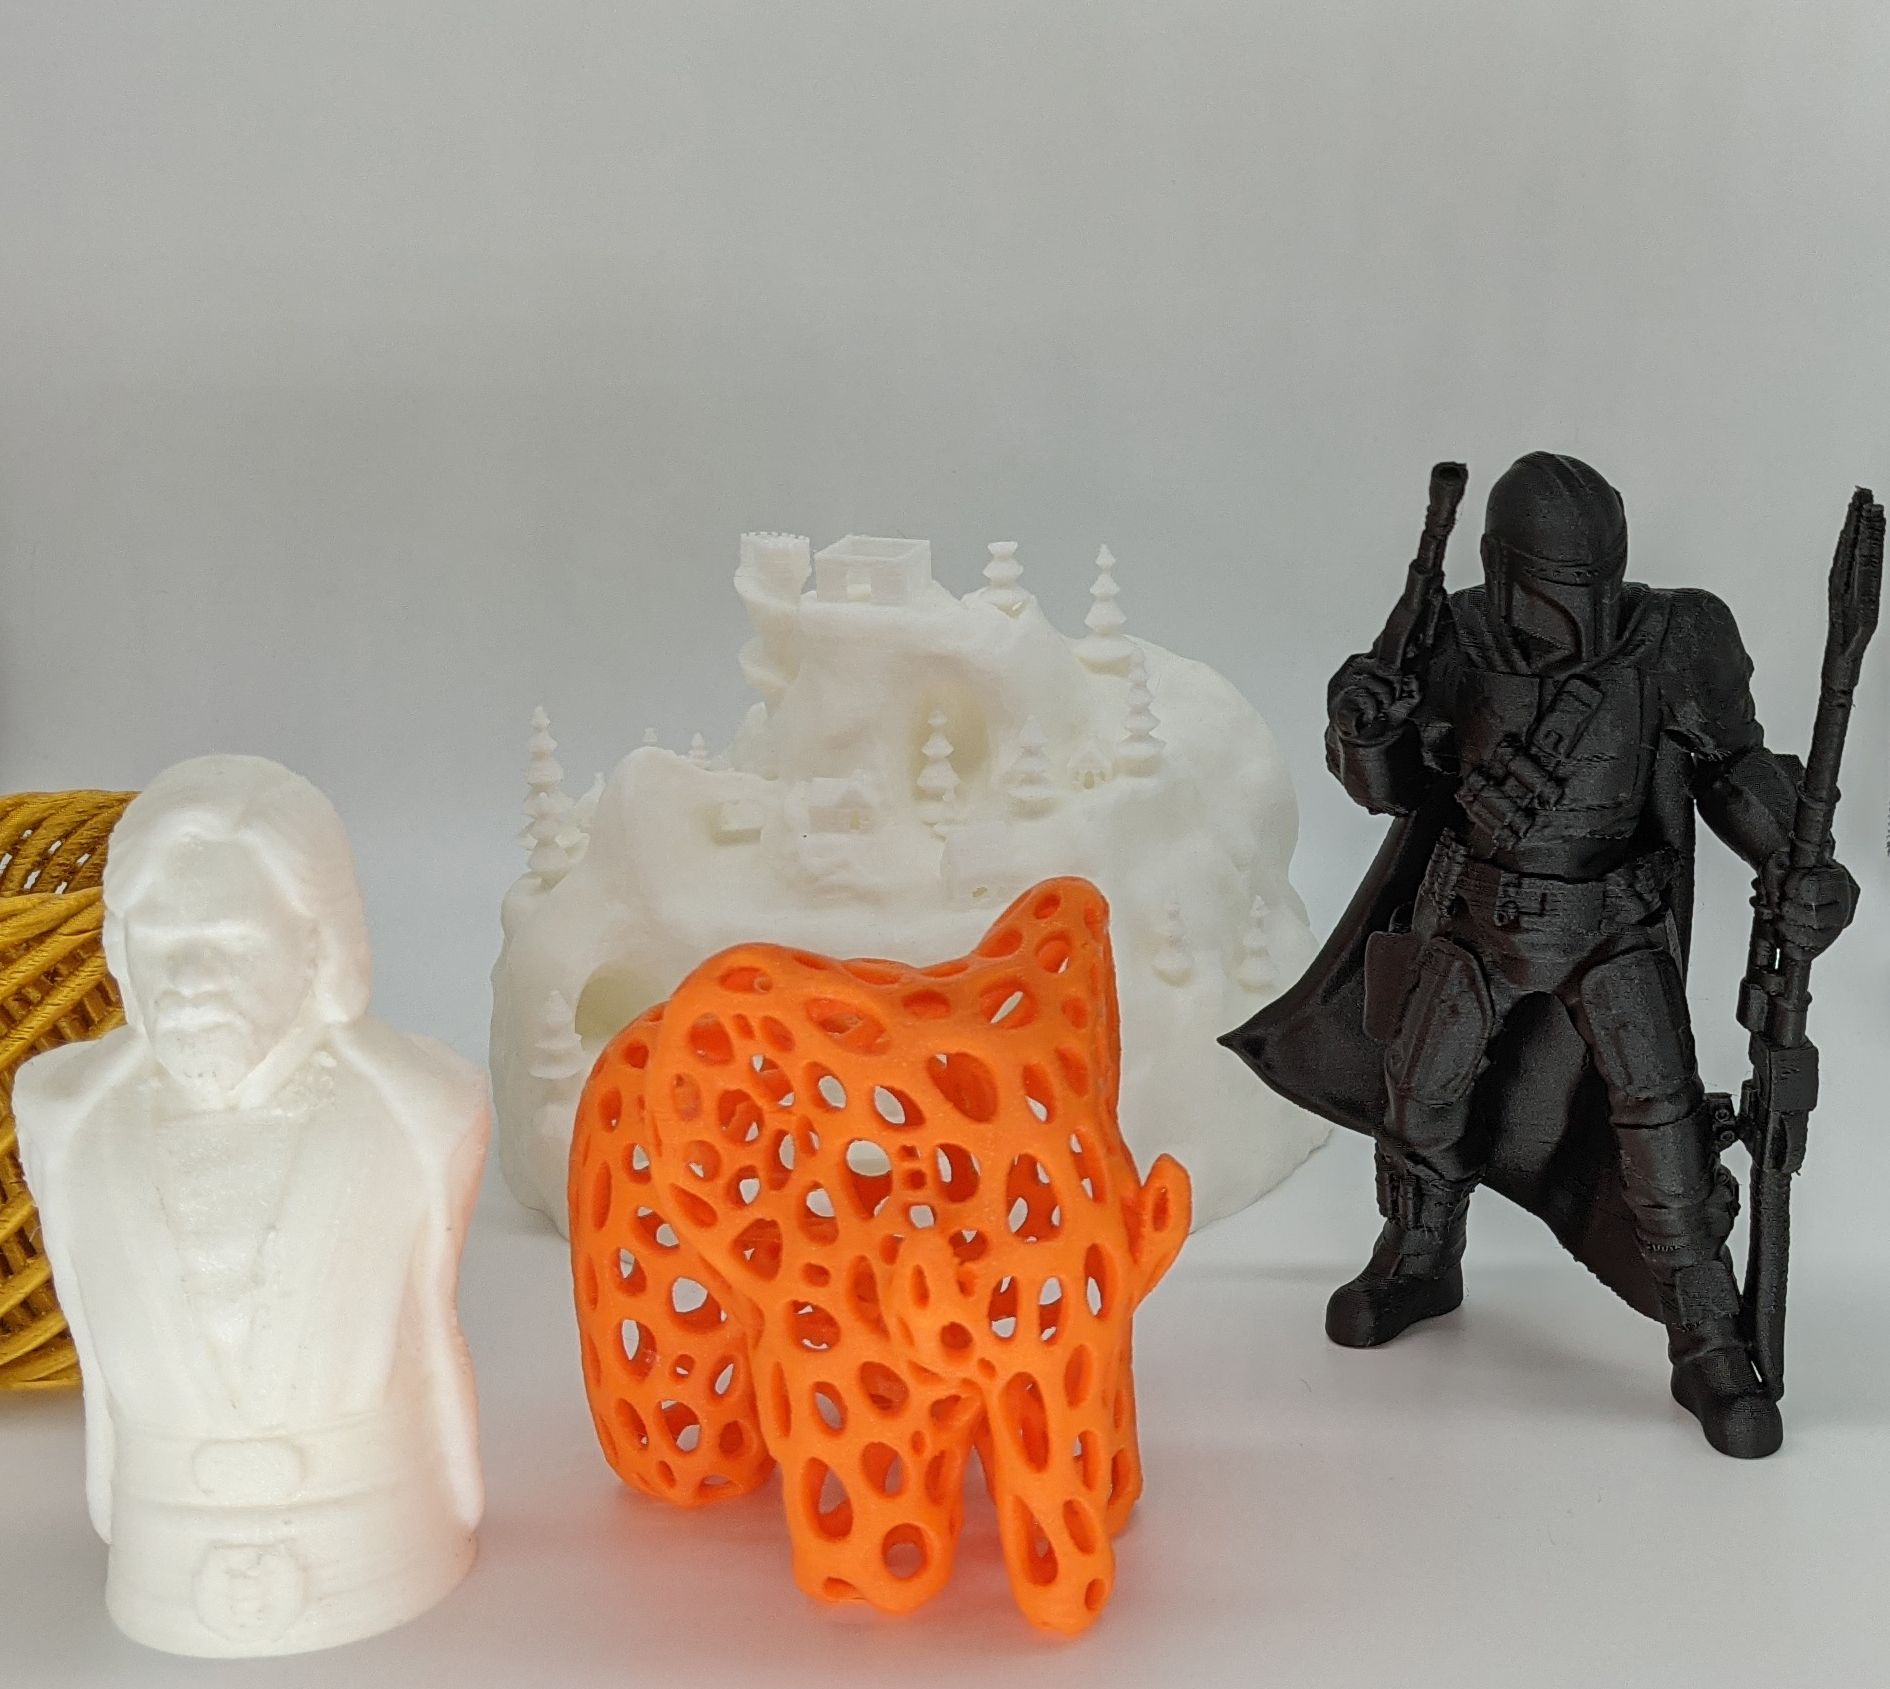
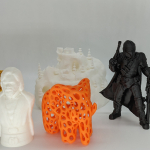
Other Test Prints
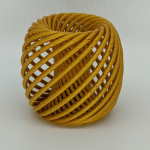
- Gold Spiral Vase – AMZ3D Silk Gold PLA
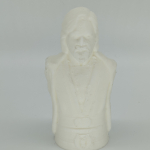
- Luke Skywalker Bust – Anycubic White PLA
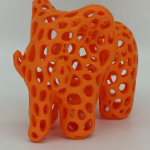
- Voronoi Elephant – AMZ3D Orange PLA
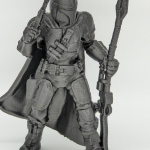
- Mandalorian Figure – Proto Pasta Carbon Fiber PLA
If you are looking for our print specific settings please check our Instagram (@avk3d) posts or shoot us a DM.
You can also see the timelapses on our YouTube here: AVK3D YouTube
Wrapping Up
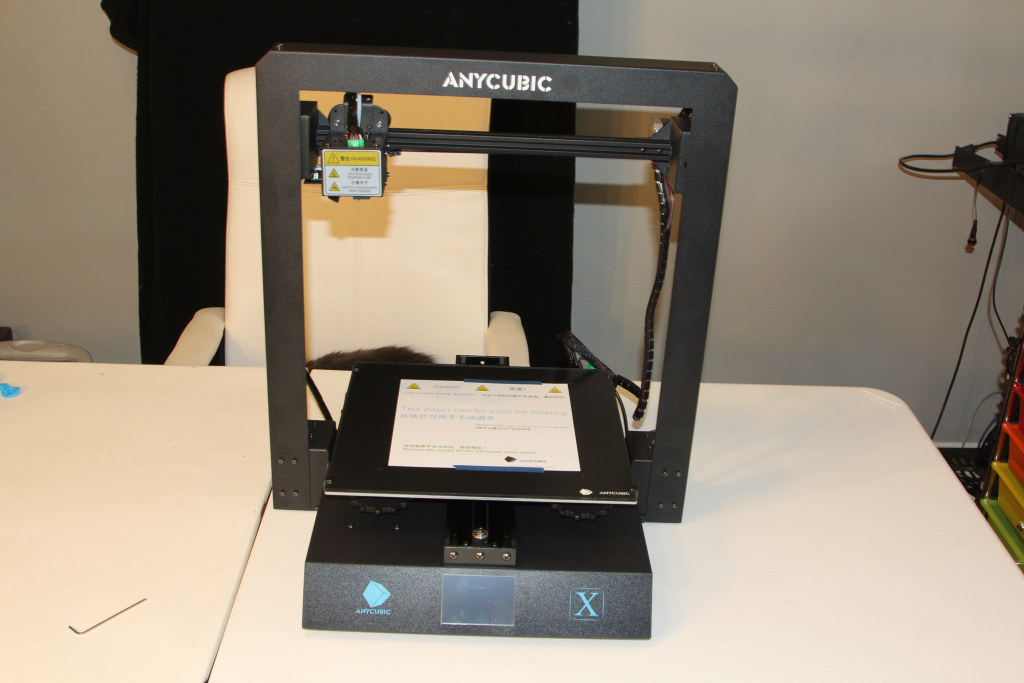
Overall the Anycubic Mega X is a prime example of getting what you pay for. It’s currently $599 CAD | (499 USD) from Amazon.ca/com and in our opinion is a solid mid range hobby printer that’s capable of printing PLA, ABS, TPU, HIPS and more.
If you are in the market for an above average, mid-range hobby printer with a large build volume you should definitely consider the Anycubic Mega X.
POSITIVES:
- Dual axis Z design ensures it’s level all of the time
- Frame is very solid
- Touch screen is bright and responsive
- Included Ultrabase bed is very impressive
NEGATIVES:
- The screen GUI could use some work (such as the back buttons being in different places depending on what screen you are on)
- Louder than our other printers, something to consider if you will be working next to
**The below link is an amazon referral link and AVK3D will receive a portion of the sale.

